$21.68
Add to Cart
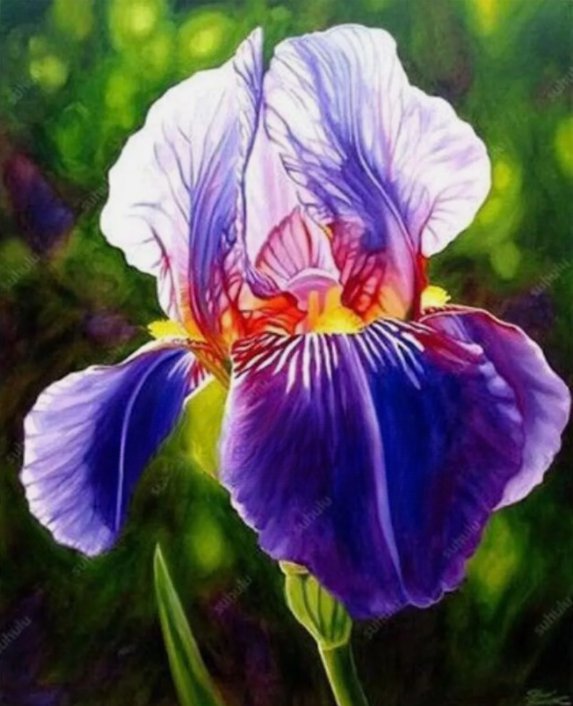
20 SEEDS for Purple/Multi IRIS rare flower exotic bloom garden plant
More than 10 available
Details
Shipping: Australia: $9.00 (more destinations)
Condition: Brand new
Returns: 10 days, seller pays return shipping (more)
Iris flowers can be propagated using various methods, but the most common and straightforward way to germinate iris seeds is as follows:
1. Seed Collection: Wait until the iris flower has faded and formed seedpods. The seedpods will turn brown and split open when the seeds are ready for collection. Harvest the seeds from the seedpods.
2. Seed Preparation: After collecting the seeds, remove any debris or chaff and clean them. Some gardeners recommend soaking the seeds in water for 24 hours to help with germination, but this step is optional.
3. Cold Stratification: Iris seeds typically require a period of cold stratification to break their dormancy and improve germination rates. Place the cleaned seeds in a sealed plastic bag with a slightly moistened paper towel or peat moss. Store the bag in the refrigerator at a temperature between 35-41°F (2-5°C) for about 6-8 weeks. This mimics the winter conditions that the seeds would experience in their natural environment.
4. Seed Sowing: After the cold stratification period, prepare a seed tray or small pots with a well-draining seed-starting mix. Moisten the soil lightly before sowing the seeds. Sow the iris seeds on the surface of the soil and gently press them into the soil, but do not cover them, as iris seeds require light to germinate.
5. Germination Conditions: Place the seed tray or pots in a location with bright, indirect light and maintain a temperature around 68-75°F (20-24°C). Keep the soil lightly moist but avoid overwatering.
6. Seedling Care: Germination can take several weeks or even months for iris seeds. Once the seedlings have developed several sets of true leaves, they can be transplanted into individual pots or containers. Provide them with bright light and continue to maintain appropriate moisture levels.


