$22.21
Add to Cart
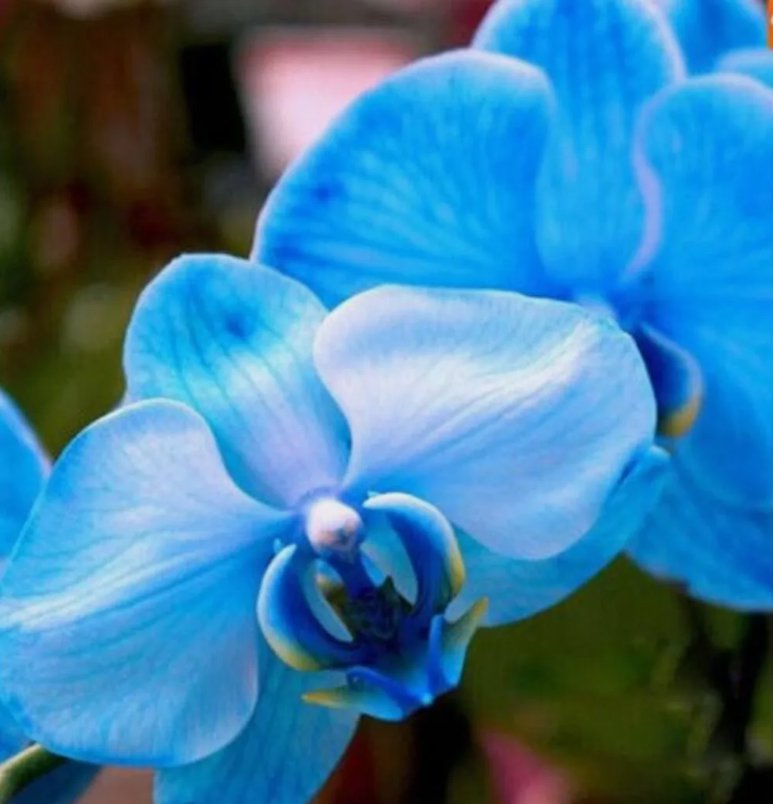
20 SEEDS for Blue ORCHID rare flower bloom garden exotic house plant
More than 10 available
Details
Shipping: Australia: $9.00 (more destinations)
Condition: Brand new
Returns: 10 days, seller pays return shipping (more)
Germinating orchid seeds can be a challenging and specialized process, as orchid seeds are tiny and lack stored nutrients to support initial growth. Orchids rely on a symbiotic relationship with specific fungi to provide necessary nutrients during germination. Here's a general guide on how to germinate orchid seeds using the "asymbiotic" method, which involves growing orchid seeds in a lab setting without the need for the natural fungal partner:
1. Obtain Orchid Seeds: Orchid seeds are usually acquired from mature seed pods of orchid plants. Orchids produce an incredible number of tiny seeds, and obtaining seeds from a reputable orchid supplier or specialized orchid nursery is recommended.
2. Sterilization: Orchid seeds are highly susceptible to contamination, so it's essential to sterilize all materials and equipment to ensure a sterile environment. This includes the growing medium, containers, and tools.
3. Growing Medium: Prepare a suitable growing medium for the orchid seeds. Agar is commonly used as a solid medium for orchid seed germination. The agar should be nutrient-rich and pH-balanced. You can find specialized orchid seed germination media or prepare your own using various recipes available for different orchid genera.
4. Seed Sowing: Place the sterilized orchid seeds on the prepared agar medium using a sterile tool, such as a toothpick or needle. Spread the seeds evenly on the surface of the agar without overcrowding. Avoid touching the seeds with your fingers to prevent contamination.
5. Incubation: Seal the containers with the seeds and agar to create a humid environment. Orchid seeds require darkness and warm temperatures for germination. Place the containers in a warm and dark location, ideally at a consistent temperature of around 70-75°F (21-24°C).
6. Patience and Observation: Orchid seed germination can be slow and may take several weeks to months, depending on the orchid species. Regularly monitor the containers for signs of germination, such as tiny green protocorms or seedlings.
7. Transplanting: Once the seedlings have developed enough to handle, they can be carefully transplanted to a suitable growing medium in individual pots or community pots. Continue to provide the appropriate growing conditions, including high humidity and proper light levels.


